
Ta-da!! Our built-ins are FINALLY finished, and we’re both thrilled with how they turned out.
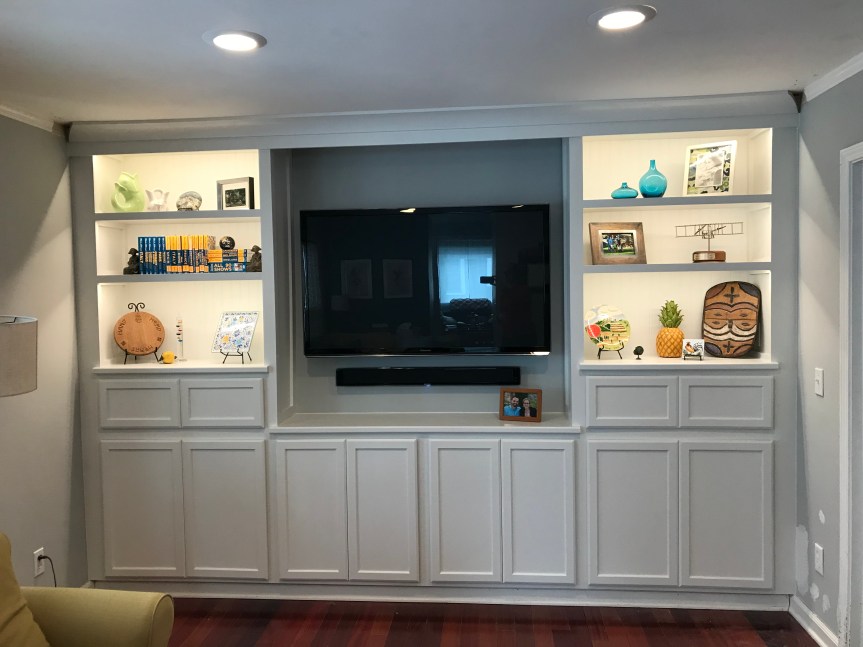
We’re still working on the decor on the shelves, and for now most of it is trip-related. On the one hand, I love having our ‘treasures’ on display, but also like the look of something a little cleaner and more HGTV, such as coordinating items I could pick up at Home Goods. Sentimentality and functionality vs. aesthetics? I’m sure it will change over time.
I never dreamed when this project began back in October last year, that it would take FOUR MONTHS to complete. Then again, I hadn’t anticipated how much two major holidays and some other random stuff would get in the way of our progress.
‘Other random stuff’ also includes all the wood jointing and planing that we had to do to construct the tops of our cabinets. Silly me; I thought we would just hop on over to Lowe’s and buy the appropriately sized piece of wood. Maybe cut it down a bit. NOPE. Boy, was I wrong. Let’s just say I learned A LOT in the process, perhaps most importantly that wood doesn’t just come in all sizes, and that it pays BIG TIME to have a friend with all the woodworking tools and know-how. (A huge thank you to Dale, without whom we would not have tops or much of the open shelving.)
This is not a tutorial post AT ALL. That would take entirely too much effort, especially since nothing about this project was easy, from the far-from-straight walls to the uber-precise measurements Andrew had to make on each piece. As always, remember that shims are your friend and just about everything can be caulked to make it look right. Better yet, pay someone to do it.
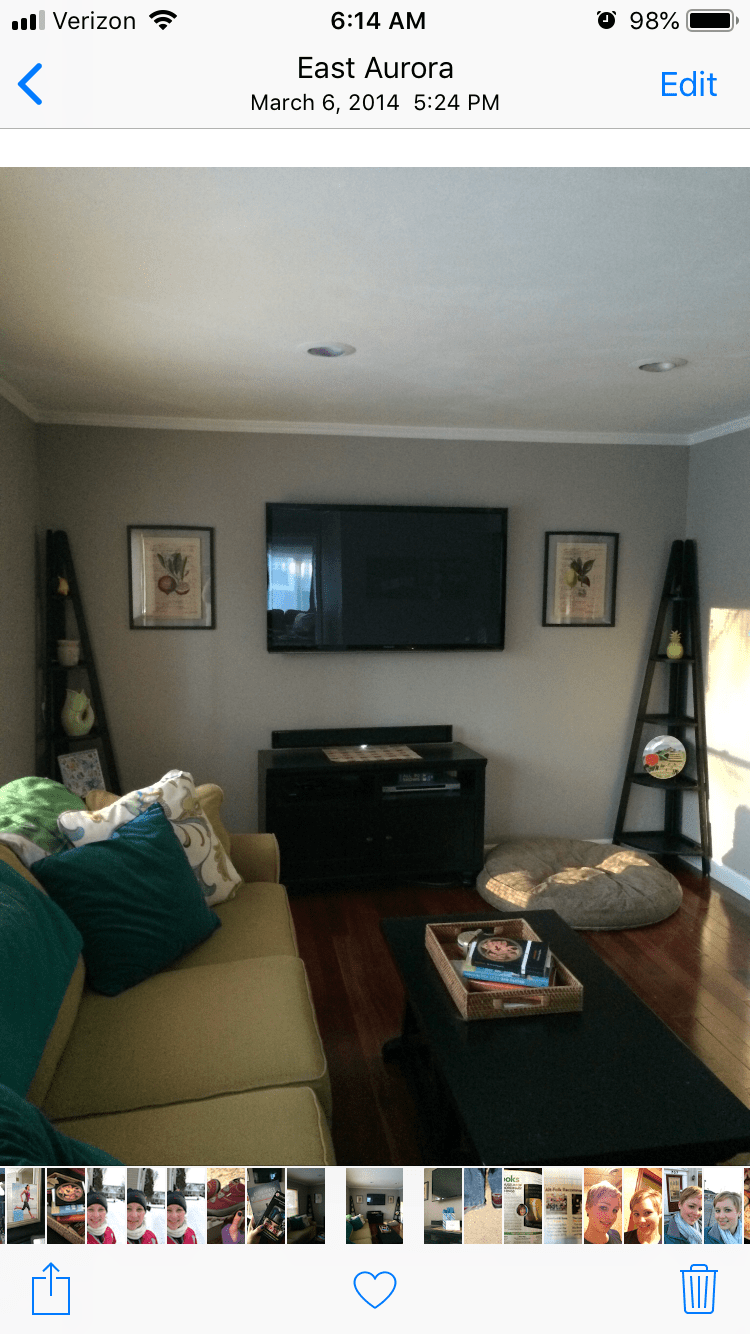
First, a before photo (Don’t miss my super short haircut photos making a cameo at the bottom! Been a long time since I rocked a pixie cut.):
The corner shelving units were nice for a time, but Andrew and I both LOVE the look of built-ins, especially in old houses. While this section of our house is the newest section (addition from approximately 20 years ago), the rest is more like 100 years old, so we felt built-ins would fit in well.
I decided (yes, this definitely began as MY project) that we needed built-ins, and recruited my DIY friend, Stacy, to help me. After pricing out all our options and checking various local used options, I decided buying unfinished cabinets from Lowe’s was our best bet. I chose wall cabinets (12″ depth) to cut down on how much floor space we would lose. Stacy helped me build a base on which they could sit, then we mounted them to the back wall for stability. Miraculously, they were level pretty much off the bat.
And that was about as much smooth sailing as we would get during this project…
After being informed that wood doesn’t just come in all sorts of sizes and thicknesses at Lowe’s, I quickly realized I was in way over my head. While in some ways I feel like a huge failure for letting this project languish and needing Andrew to step in, I also see the benefit of having a handy, DIY-or-bust, perfectionist husband who can engineer the crap out of just about anything and make it better than you ever imagined. Need I say more than patio project?
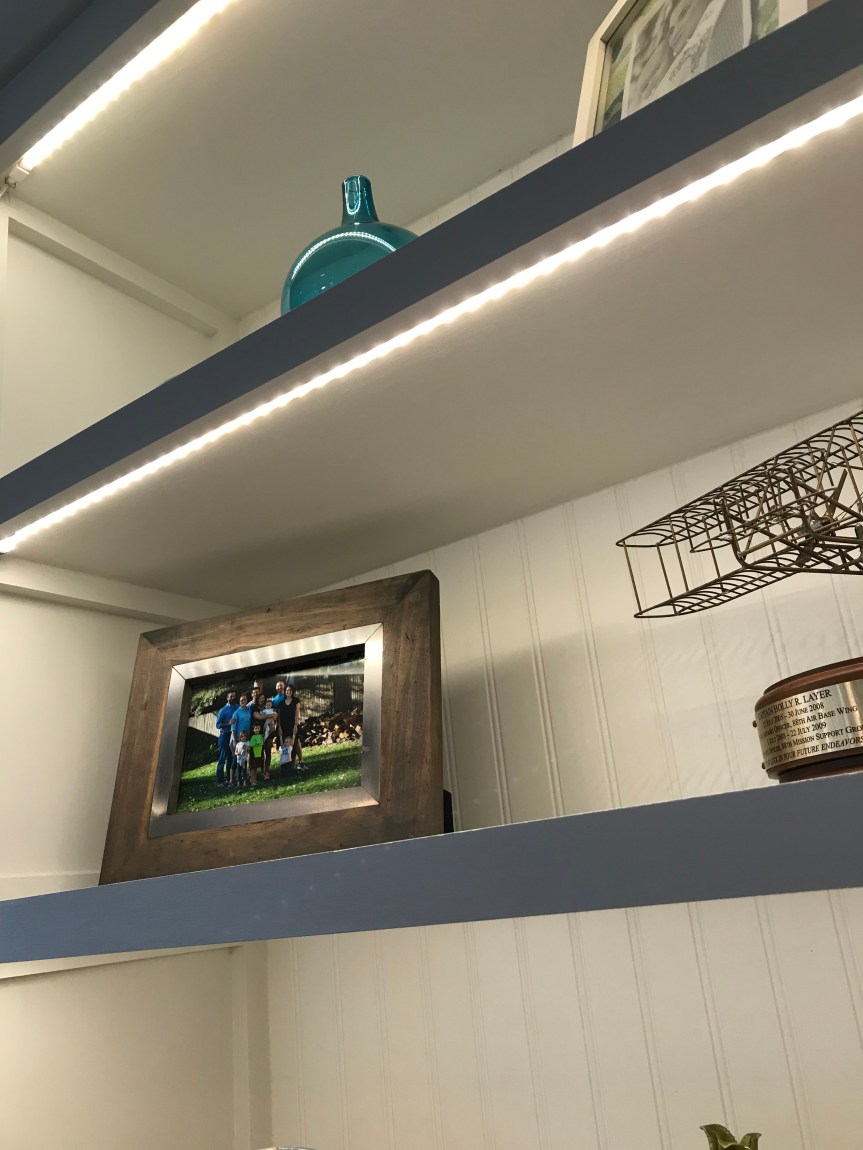
So, of course, in addition to all the construction that had to be done, Andrew decided lighting was ABSOLUTELY CRITICAL and took a weekend to run new electrical from the ceiling to a switch on the wall to operate the tape lights that are underneath each cabinet. (Yes, I’m being cheeky and yes, the lights really were worth the extra time.) He even routed (literally) the wood supports so he could route (haha!) the wires between shelves. *We also have a Luminoodle behind the television to add MORE light in between the shelving. (Admittedly, the middle section with the tv does seem dark now that both sides are lit up on the regular.)
While this isn’t a tutorial (again, HIRE SOMEONE), I do feel the need to say some simple words about the project. First, I’m sort-of kidding about hiring someone. Building built-ins, with the help of a detailed tutorial/directions/friend, is totally do-able. It helps if your walls and floors and ceilings are straight.
Second, using the unfinished cabinets was absolutely the right move. I thought about building them for about a second and quickly realized that would have added a year to the project. That being said, this project ended up costing more in materials than we anticipated (don’t they always?), so don’t totally disregard buying the entire thing (cabinets + upper open shelves, available from various outlets finished and unfinished) and assembling and trimming yourself.
Third, the cabinets are oak, tops are oak and the rest is largely made out of poplar. Because I was painting them white, the wood choice didn’t matter much. We simply wanted to avoid a super soft wood, like pine.
Fourth, painting cabinets like this is not for the faint of heart. I love painting, and it was a bit arduous even for me. Brushwork, especially in a high-gloss, shows every imperfection. Stacy recommended Floetrol, and I’m so glad she did. It’s a paint additive to help reduce brushstroke lines, and I felt it mixed well with the Sherwin Williams enamel I bought and made application that much easier.
Lastly, when in doubt, add light! The tape lights were easy to find and install, and don’t have to be wired into a wall switch, although it’s certainly nice. Many of them can be cut along specific lines and connected to another section of tape using additional connectors. It’s so easy, a caveman could do it.
